Use AWS CLI With Multiple Accounts and MFA
Hello Readers, I am back to blogging after gap of years. This is part of my new year resolution of executing on the my original vision for this blog - “Sharing what I have learned”. Can’t believe its been a decade. However, this new year will give me fresh vigor to restart blogging.
Back to Topic, The Use-Case that I would be explaining today makes following assumtions:
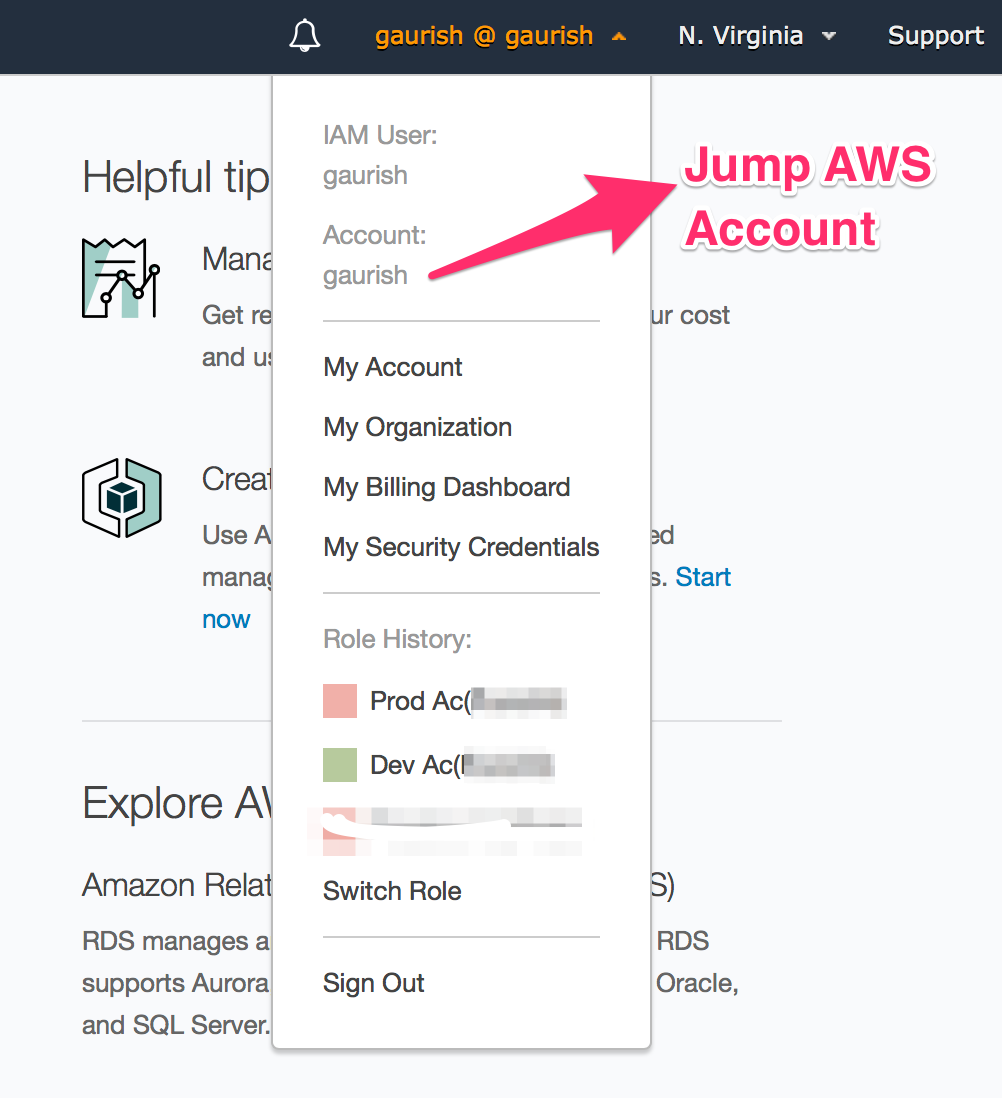
- You have multiple AWS Accounts - These days, most compnaies follow AWS Multiple Account Security Strategy where they have seperate accounts their development and production resources with Cross-Account access . In addition, at some people will create seperate a “Jump AWS Account” where only IAM is configured in Jump account & for every other purpose, the users are expected to login to different AWS account(development AWS account, Production AWS Account etc).
- Multi-Factor Authentication(MFA) is required - AWS Multi-Factor Authentication (MFA) is a security best practice that adds an extra layer of protection on top of your user name and password. In this case, cross-account access is protected using MFA. With MFA enabled, when a user signs in to an AWS website, they will be prompted for their user name and password (the first factor—what they know), as well as for an authentication code from their AWS MFA device (the second factor—what they have).
- CrossAccount Assume Role between Development & Production Account is setup on AWS web Console. You are able to login to “Jump AWS Account” which could be a seperate account or same as your development acccount. From this “Jump AWS Account”, We assume you are able to Jump to production aws account from AWS Web Console using “Switch Role” feature.
If the above three are already given then please continue. In later tutorials, I might talk about how to setup multiple AWS accounts with Cross Account Access along with MFA but that’s a seperate tutorial. For now we will assume that you already have that work. If not, please stop & first complete the step #1, #2, and #3.
Goal - Setup AWS CLI for Multiple AWS Accounts with Cross Account Access along with MFA
The AWS Command Line Interface (CLI) is a python cased CLI application that allows you to manage your AWS services., same way as AWS Web console. But where the AWS CLI really shines is that you can use it to control multiple AWS services from the command line and automate them through scripts. Automatition is hard to do from Web console but its easy to write a shell script that automates routine tasks like launching a new instances, searching given IP address belongs to which instances.
Our goal for this tutorial is going to be that you are able to have cross access to Development, Production or any other aws account you may have using single Access Key ID, Access Key Secret & MFA Token devise that is registered on your “Jump AWS Account” using AWS Security Token Service (STS)’s Assume-Role feature.
Step 1 - Configure Secret Key & Secret ID 🔑
Download & install AWS CLI as documented on AWS CLI Website, for Linux/Mac, its as simple as $ pip install awscli. Next we will configure AWS CLI with Access Key ID, & Access Key Secret from “Jump AWS Account”. Please login to your “Jump AWS Account”, got IAM & generate Access Key ID, & Access Key Secret if you haven’t already done . Once you have them, please run aws configure & set them in on your machine.
$ aws configure
AWS Access Key ID [None]: AKIAJE2IKK4QQPJWD9TT
AWS Secret Access Key [None]: ilNxOf7JK7VIopEov35+ne/cPWApNZyQtO3hRGHH
Default region name [None]: us-east-1 #your fav region
Default output format [None]:
Based on this, AWS CLI will create two files: ~/.aws/credentials & ~/.aws/config. they should look like this:
$ cat ~/.aws/config

[default]
region = us-east-1
output = text

$ cat ~/.aws/credentials

[default]
aws_access_key_id = AKIAJE2IKK4QQPJWD9TT
aws_secret_access_key = ilNxOf7JK7VIopEov35+ne/cPWApNZyQtO3hRGHH
To confirm, everything is setup correctly. Let fetch the user using the secret key id & Secret access key, it should return info similar to shown below:
❯ aws iam get-user --profile gaurish
{
    "User": {
        "Path": "/",
        "UserName": "gaurish",
        "UserId": "AIWAJLPBAQHB8EH75KFDI",
        "Arn": "arn:aws:iam::111111111111:user/gaurish",
        "CreateDate": "2017-12-10T07:12:04Z",
        "PasswordLastUsed": "2017-12-17T08:59:02Z"
    }
}
If you do not get above output then, the AWS Access Key ID & AWS Secret Access Key are incorrectly setup in Setup #1. Please verify & try again.
Setup 2 - Get MFA device details
Next step, is to get MFA device serial Number as shown below:
❯ aws iam list-mfa-devices
{
    "MFADevices": [
        {
            "UserName": "gaurish",
            "SerialNumber": "arn:aws:iam::111111111111:mfa/gaurish",
            "EnableDate": "2017-12-17T09:59:02Z"
        }
    ]
}
However, if you get output similar to given below:
$ aws iam list-mfa-devices
{
    "MFADevices": []
}
Then you hasn’t configured MFA which you should do as per the doc
Step 3 - Get Role ARN
An IAM role is a authorization tool that lets a user gain additional permissions, or get permission to perform actions in a different account.So idea here is that you create a Role in your target account, say in Production account which users in your “AWS Jump Account” can assume . You will have to create this Role in your production account, if not already done.More information can be found in Assume-Role Documentation .
From Step 3, you should have have role arn which will be somewhat like this:arn:aws:iam::222222222222:role/JumpAccountDeveloperAccess
Step 4 - Set Role ARN & MFA in AWS CLI
The role arn of production aws account we have from #3 is arn:aws:iam::222222222222:role/JumpAccountDeveloperAccess & MFA serial number from step #2 is arn:aws:iam::111111111111:mfa/gaurish. Now all we got to do set these in ~/.aws/config for production profile, then we will be able to access production using credentials “AWS Jump Account”. this is how the config will look after edits:
[default]
region = us-east-1
output = text
[profile production]
mfa_serial = arn:aws:iam::111111111111:mfa/gaurish@gmail.com
role_arn = arn:aws:iam::222222222222:role/JumpAccountDeveloperAccess
region = us-east-1
source_profile = default
Now, let’s try to see user logged into details:
$ aws sts get-caller-identity --profile production
Enter MFA code:
{
    "UserId": "AROBJE5V62ESHW3JBJO5M:AWS-CLI-session-1513512076",
    "Account": "222222222222",
    "Arn": "arn:aws:sts::222222222222:assumed-role/JumpAccountDeveloperAccess/AWS-CLI-session-1513512076"
}
The first time we do this we will be prompted for our MFA code. By default, it won’t have to be re-entered for 1 hour. However, if we execute commands for a different account, we will be asked to enter our code again. Further, instead of --profile production on every call which gets tiring, you can just export export AWS_PROFILE=production & then all subsequent calls will use production profile.
$ aws sts get-caller-identity
{
    "UserId": "AROBJE5V62ESHW3JBJO5M:AWS-CLI-session-1513512076",
    "Account": "222222222222",
    "Arn": "arn:aws:sts::222222222222:assumed-role/JumpAccountDeveloperAccess/AWS-CLI-session-1513512076"
}
to switch back, you can export AWS_PROFILE=default,
$ aws sts get-caller-identity
{
    "UserId": "AIDAJFFF4RORRWDXZDVSG:AWS-CLI-session-1513512166",
    "Account": "111111111111",
    "Arn": "arn:aws:sts::111111111111:assumed-role/JumpAccountDeveloperAccess/AWS-CLI-session-1513512166"
}
If you have gotten this far, then you have completed the tutorial. with this, Command line scripts that now you can write can easily be used in batch files or scripts, which is great for automation. now, think of all the common operations you have to do on AWS Web Console& automate them via AWS CLI.
More Power to you!